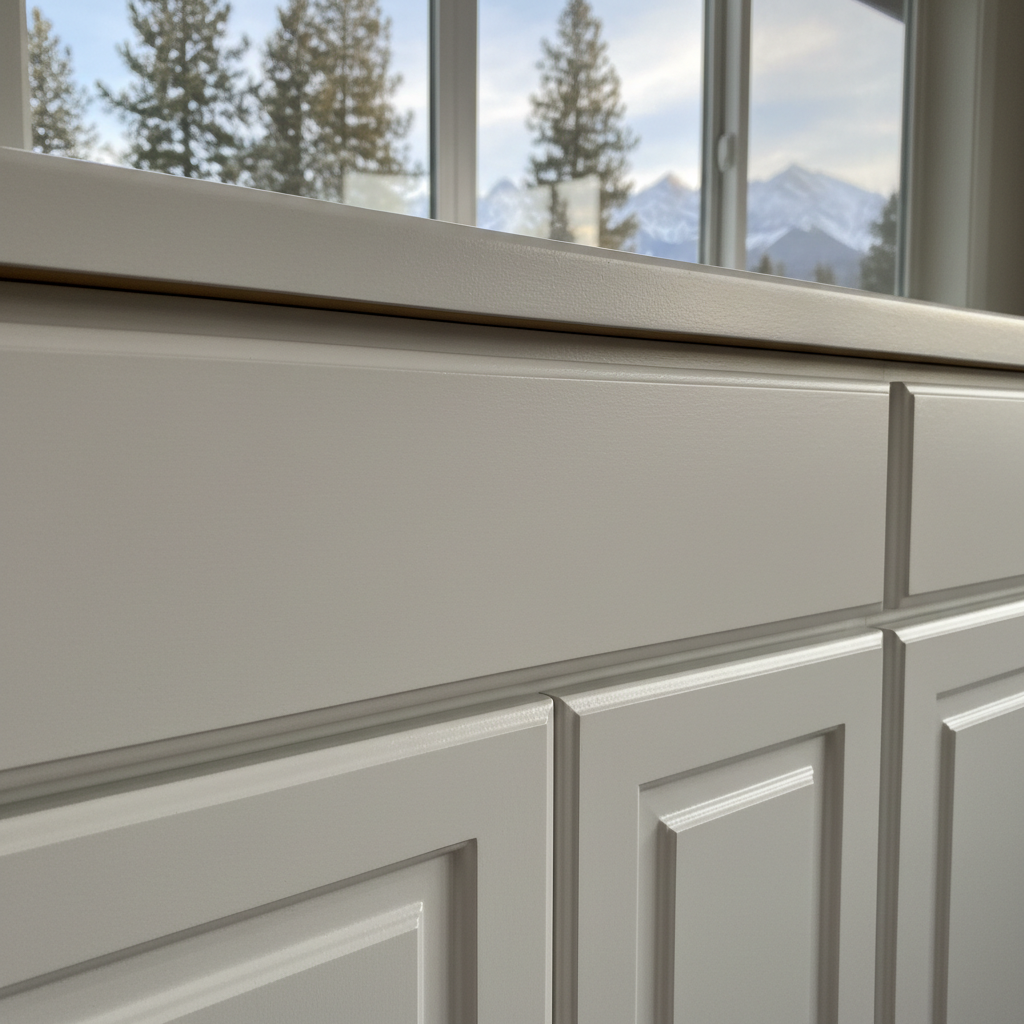
Thinking About Painting Your Kitchen Cabinets?
It's a big job, no doubt about it. A fresh coat of paint on your cabinets can totally transform a kitchen or bathroom without the cost and hassle of a full remodel. I've seen it time and again here in Whitefish, from those older cabins up on Big Mountain to the newer builds down by the lake. But before you dive in, you need to know what you're really getting into. This isn't like painting a wall; there's a lot more to it if you want it to look good and actually last.
Before You Even Pick Up a Brush
Preparation is everything with cabinet painting. Seriously, 90% of a good cabinet paint job is in the prep work. If you skimp here, you'll regret it later. Trust me, I've seen plenty of peeling, chipped cabinets where someone thought they could cut corners.
- Check Your Cabinets: What kind of shape are they in right now? Are they solid wood, laminate, or thermofoil? Solid wood is generally the best candidate for painting. You can paint laminate, but it needs special primers. Thermofoil? Just forget about it. You'll be fighting an uphill battle, and it probably won't last anyway.
- Clean, Clean, Clean: Kitchen cabinets get greasy. Years of cooking vapors, fingerprints, and general grime build up. You need to clean them thoroughly with a good degreaser. I recommend something like TSP (trisodium phosphate) substitute, followed by a rinse with clean water. Don't just wipe them down; scrub them. Really get in there.
- Take Everything Off: Remove all doors, drawer fronts, and hardware. Label everything! You'll thank yourself later when you're putting it all back together. A simple numbering system with masking tape works wonders, believe me.
- Sand, Sand, Sand: This is where a lot of DIYers get tired and quit. You need to lightly sand every surface you plan to paint. This isn't about removing all the old finish; it's about creating a 'tooth' for the new paint to stick to. Start with 150-grit sandpaper, then move to 220-grit for a smoother finish. Don't forget to wipe away all the dust with a tack cloth or a damp rag.
- Prime Time: Never skip primer on cabinets. It's your adhesion layer and stain blocker. Use a high-quality, oil-based or shellac-based primer, especially if you have oak cabinets with open grain, or if there's any chance of old stains bleeding through. Two thin coats are always better than one thick one.
During the Painting Process: Patience is Key
Once your cabinets are prepped and primed, it's time for the paint. This is where you really need to decide if you're up for the challenge or if it's time to call in a professional like Whitefish House Painters.
- Picking the Right Paint: Don't just grab any old wall paint. You need a durable, hard-wearing paint specifically designed for cabinets. Look for acrylic-alkyd hybrids or high-quality enamels. These paints cure to a much harder finish, which is crucial for high-traffic areas like kitchens, right?
- How You Put It On: This is the biggest differentiator between a DIY job and a pro job.
- Brushing & Rolling: You can get a decent finish with a good quality brush (like a fine-bristle synthetic) and a small foam roller. The trick is to apply thin coats and tip off brush strokes immediately. You'll still see some texture, but it can look very good if you do it carefully.
- Spraying: This is how the pros do it. A sprayer gives you that factory-smooth, flawless finish with no brush marks. But it requires specialized equipment (HVLP sprayer), a lot of practice, and a dedicated, dust-free spray booth or area. If you're spraying inside your house, you'll need serious ventilation and masking to prevent overspray from getting everywhere. This is usually where I tell folks,