So, you're standing there, looking at your house, and thinking, "Yep, it's time for a fresh coat of paint." Good for you! Exterior painting is a beast of a job, no two ways about it, but a surprising amount of the grunt work? You can totally handle that yourself. Honestly, knowing what you're really getting into before you even buy the first can of paint is half the battle. I've watched countless homeowners, and even some pros, try to cut corners, and trust me, it always shows up eventually.
Before You Even Think About Paint
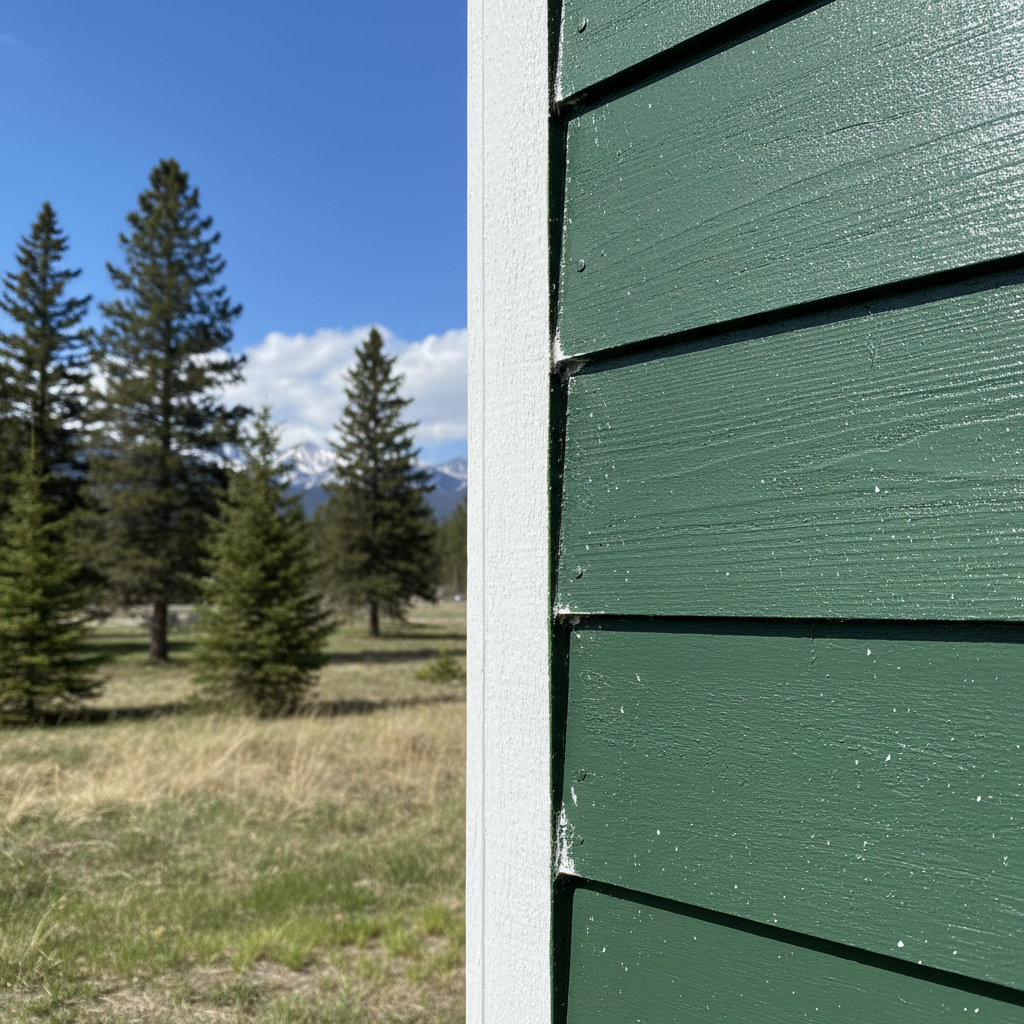
Prep, prep, prep. I really can't say it enough. This is where most DIY projects go south, and it's also where the pros earn their keep. Skimp on the prep, and that expensive paint job won't last. It's just that simple.
- Wash it Down: First things first, get that house sparkling clean. You wouldn't paint a dirty wall inside, would you? Same principle applies outside. A good power wash usually does the trick. Just be careful with the pressure, especially on older siding or around windows — you don't want to force water where it shouldn't be. If you're not comfortable with a power washer, though, a stiff scrub brush, some TSP (that's trisodium phosphate), and a garden hose will absolutely work. Just remember to rinse everything off really well.
- Inspect and Repair: Once it's clean and dry, take a slow walk around your entire house. Look for any rotten wood, loose siding, or cracked caulk. This step is critical. Painting over rot is like putting a band-aid on a broken leg; it won't fix a thing. Replace any wood that's damaged. For smaller cracks and gaps, especially around windows and doors, grab a high-quality exterior caulk. Don't cheap out here; good caulk stops water from getting in, which is a huge deal with our Whitefish winters and all those freeze-thaw cycles we get.
- Scrape and Sand: Any paint that's peeling, flaking, or blistering has to go. Use a scraper, a wire brush, or even an orbital sander for bigger areas. The whole point is to create a smooth, solid surface for the new paint to stick to. Feather out the edges of any scraped spots so you don't end up with harsh lines showing through the new paint.
- Prime Time: If you're painting over bare wood, new repairs, or a color that's really different from what's there now, priming isn't optional. Primer creates a uniform surface, helps the paint stick, and blocks stains. It's an extra step, sure, but it's worth every minute and every penny.
When to DIY and When to Call Whitefish House Painters
So, your house is prepped. Now what? The actual painting. This is where you need to be brutally honest with yourself about your skills, your available time, and how you feel about heights.
- What You Can Likely DIY: If your house is a single story, or you're only painting easy-to-reach areas like trim, doors, or just a small section of siding, you can probably handle the painting yourself. Brushing and rolling aren't exactly rocket science, but they do demand patience and a good eye for detail. Take your time, use decent brushes and rollers, and always, always follow the paint manufacturer's instructions for drying times and recoats.
- When to Call a Pro: This is where people like me come in. If your house is two stories or taller, has intricate architectural details, or if you're facing extensive rot repair, lead paint (especially on older homes in the Railway District), or you simply don't have the time or physical ability, it's absolutely smart to call in Whitefish House Painters or another reputable company. We've got the specialized gear (ladders, scaffolding, sprayers), the experience to work safely and efficiently, and the know-how to get a uniform, long-lasting finish. Plus, we're insured, which is a pretty big deal when you're working way up high.
During the Paint Job
Whether you're doing it yourself or just watching us work, a few things are always important. Pay attention to the weather. Don't paint in direct, scorching sun; the paint can dry too fast and won't stick right. Don't paint if rain is coming within the next 24-48 hours, or if temperatures are going to dip below the manufacturer's recommended minimums overnight. Early mornings or late afternoons often work best. Apply thin, even coats. Two thin coats are always, always better than one thick, gloppy mess.
After the Last Brush Stroke
Once the paint is dry, do one last walk-around. Look for any spots you missed, drips, or areas that need a quick touch-up. Clean your tools properly; it'll save you money in the long run, believe me. Store any leftover paint in airtight containers in a temperature-controlled area (definitely not your unheated garage in January!).
A good exterior paint job isn't just about looking nice; it's about protecting your biggest investment from the elements. Do the prep right, use quality materials, and know when to ask for help. Your home will absolutely thank you for it.